Adding a New Post
Log into the WordPress Dashboard.
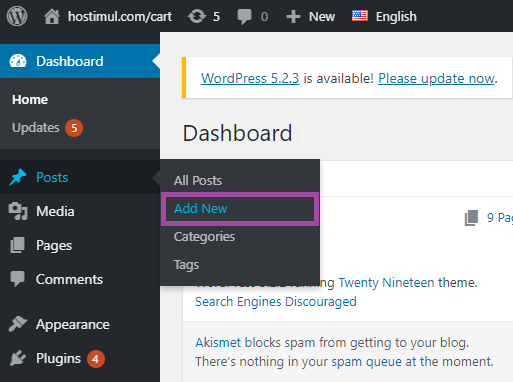
Hover over Posts in the left-hand side menu and click Add New in the sub-menu:
On the new post, click the ‘+’ button in the top left-hand corner of the screen. A drop-menu menu of blocks will appear:
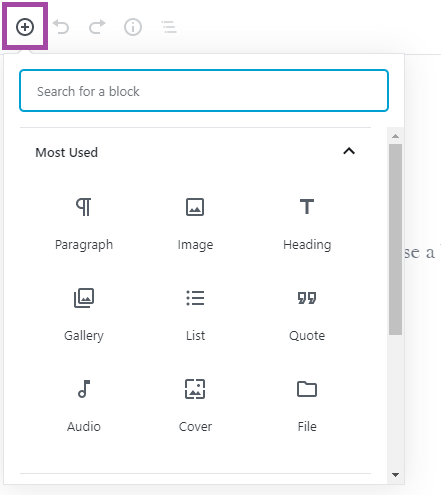
By default, you will be presented with the Most Used block options. You can select one of these, use the search bar to quickly located another block, or scroll down to reveal other block categories.
Click on a block to add it to your new post.
Select the block on the post to begin adding content to it.
When a block is selected, an individual block menu will appear. You can use the block menu to format that block’s settings.
Managing Your Posts
After creating a post, you can manage and customize them even further. These options are located under the Posts tab on the left-hand side menu in the WordPress dashboard:
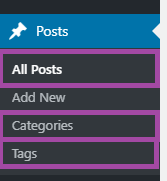
All Posts. This will show you all of the posts created on the WordPress website. It provides a quick outline and lists each post title, author, a category it has been assigned to, tags, comments, and date it was published or last modified.
Categories. The Categories option allows you to categorize your posts as you see fit. You can choose the name of your category, customize how the URL looks, and even create parent categories.
Tags. Tags are used on posts to focus in on a specific topic, unlike categories which could have an extensive range of topics and items. An example would be you have a category for Movies. You could then tag a post with ‘Drama’ and ‘Academy Award Winning’ as tags to further outline the contents of the post.